
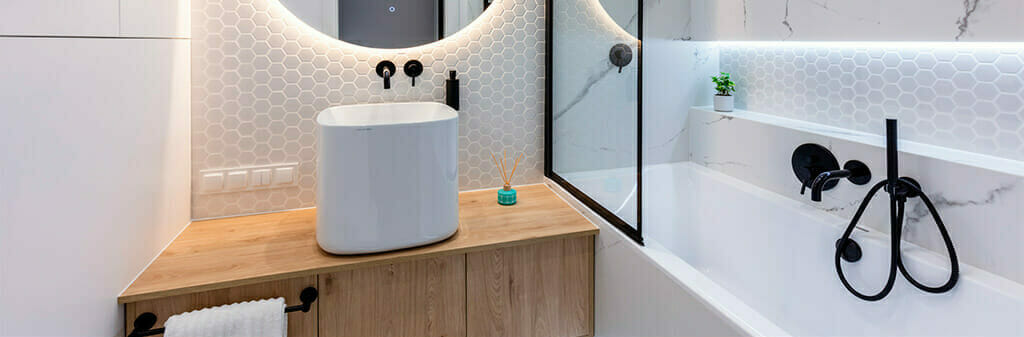
When you have a small bathroom in your house, a great way to update and modernise is to turn it into a wet room. With no tray to worry about, you can make more use of the space available. So, what’s really involved in creating a wet room in your home?
If you’re not really sure what the difference is between a walk-in shower and a wet room, in this instance we’re looking at an open plan room without a step-up shower tray. The floor is tiled, with a slope downwards towards a drain.
How to create a wet room floor
We would usually be starting with a timber floor, which allows us to create a recess in the joints for a ‘former’ tray. This has a built-in slope needed to direct the water towards the drain and provides a sturdy waterproof base that can be tiled over.
However, as with all plumbing, one of the key parts is ensuring the pipework has the correct fall – otherwise you can create problems further down the road including smelly drains. We need to ensure that there’s enough room under the former tray to allow for the waste pipe and the correct angle to take the waste water away.
In principle, working with a solid floor is the same. However, we would need to dig down into the floor to create space for the former and level the tray with the rest of the room.
Waterproofing the walls in your wet room
One of the main differences between a wet room and having a separate shower cubicle is that you need to waterproof all of the wall in the splash zone, whereas in a shower you have a limited amount of wall exposed to the water splatter.
Using the same waterproof material as the former, we can line the walls, especially nearer the bottom of the walls where the wall and tray meet. This provides a barrier that will not absorb water if there is a leak, and therefore won’t degrade in the same way that timber and plasterboard might, giving you better protection.
The finishing touches to a fabulous wet room
After the drainage and floors are in place, we can start with the exciting part – the visible pieces of the room that create the beautiful environment you’ve imagined. We’ll tile the walls and, if you have chosen to, add a glass panel. The benefits of a glass panel is that the water is contained a little more, but the room still retains a spacious feel.
You can choose not to have a panel or shower curtain, but bear in mind that the water will travel much further, giving you a greater risk of soggy toilet paper and shampoo on your toothbrush!
What else is there to consider?
From here on the rest of your wet room is finished as we would any bathroom renovation. We’ll install your shower, towel rails, basins and other furniture. Your beautiful new wet room is ready to use – and you’ve turned a smaller space into a convenient and modern bathroom.
If you’re not sure of the best option for your space, our design team are happy to discuss the options with you. We’ve installed high quality bathrooms for over 40 years, so we’re confident we have seen almost every scenario and can solve any problems you might be facing with shape, size, and obstacles in your room. Contact our team today for more support on 024 7669 1469.